Currently Empty: $0.00

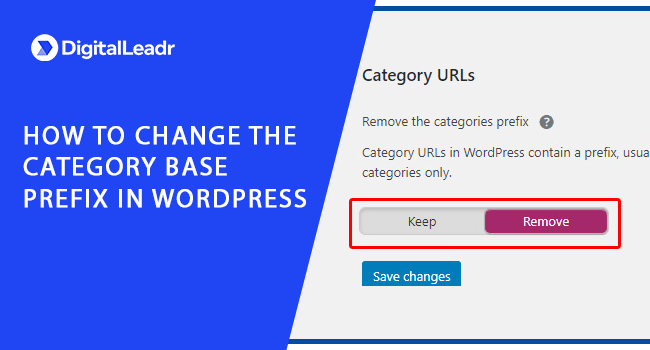
Are you looking for an easier way to change the category base prefix in WordPress? If you are a newbie, changing the category base prefix in WordPress might seem a bit daunting task to perform.
Table of Contents
However, by default WordPress automatically add categories as a prefix to URLs for every category pages. In this blog, we will discuss how you can change the category base prefix in WordPress. Plus, we will also discuss whether or not you should remove the base prefix altogether.
What Exactly Is Category Base Prefix? Is It Necessary to Change It?
In your WordPress website, each category gets its own RSS feed and page. To view all the posts that are filed under a certain category, you need to visit that category archive page.
WordPress adds category as a base prefix to URLs for category pages by default. This will help you to differentiate the posts and pages from tags and category archives.
For instance, if you have a category named Books, then the URL will be like this:
http://example.com/category/books/
Likewise, WordPress also adds tag prefix to URLs for tag archives.
http://example.com/category/books/
This URL structure is SEO friendly. It helps the search engines and visitors better understand what kind of page they are going to visit.
Usually, in most websites, there is no need to change the base prefix at all. But if you are planning to create a niche website or a blog where you might be using different phrases or words for your categories, then you can change the category base prefix.
How To Change The Category Base Prefix
It is pretty easy to change the category base prefix on your WordPress website.
The first step is to go to the Settings tab and click on the permalinks page. Scroll down to the Optimal section.
Here, in the category base option, you can enter the prefix you would like to use for that particular page. Additionally, you can also change the tag base prefix located right below the category base option.
Once you are done with all your changing, do not forget to click on the Save Changes button.
How To Set Up Redirects After Changing The Category Base Prefix
If you want to change the category base prefix for your new website, you really do not need to do anything. However, to do this on your existing website, then users visiting the old category page might end up getting a 404 error.
To fix this problem, you need to set up a redirect. It will make sure that both regular visitors and search engines are appropriately redirected to the right category page on your WordPress website.
The first step is that you need to install and activate the Redirection plugin. Once you have activated the plugin, you need to visit Tools > Redirection page to setup redirect.
Scroll down to the Add new redirection section in your WordPress dashboard. You need to add /category/(.*) in the source URL field. Now, you need to check box available right next to the regular expression option.
You need to add your new category base prefix in the target URL field like /topics/$1. After all the changes, do not forget to change the topics with your new category prefix. To do that, click on the Add Redirection button and save your changes.
Now that you have set up the redirects, the search engines and users will be redirected to the right URLs through your new category prefix.
Wrapping Up
This is how you can change the category base prefix on your WordPress website. Just follow these steps, and you will be able to change the category base prefix without any hassle.
If you have any questions about the topic or anything related to WordPress, feel free to reach out to us. You can also subscribe to Digitalleadr’s YouTube channel.

