Currently Empty: $0.00

Are you looking for a way to add dark mode to your WordPress website? A lot of devices has built-in dark mode support. Your browser will automatically according to your preference adopt the dark mode if you have added dark mode to your website. Plus, you have the option to add a dark mode switcher toggle to your website as well.
Table of Contents
Today, we will discuss how to add dark mode to your WordPress website both admin and frontend area. Let’s get started
Add Dark Mode to Your Website
The first step is to install a plugin. We recommend installing WP Dark Mode plugin. Activate the plugin after installing.
Now, go to Settings > WP Dark Mode page in your WordPress admin. Go to the general settings tab and you will be redirected there automatically.
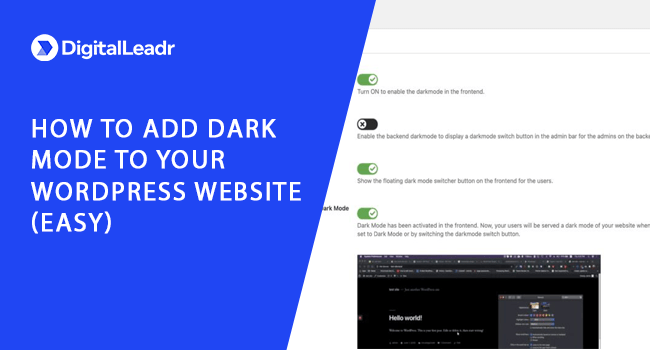
The “Enable OS aware Dark Mode” will be switched on for you. The users will be able to see the dark version of your website.
If the ‘Show Floating Switch” has been switched on, then the user can switch the view of the website any time even if he has not enabled the dark mode.
You will see a switch at the bottom right corner of your website. You can click to instantly see your website. The users will also be able to see it.
There is a lot more you can do. For instance, you can customize the dark mode colours through the Style Settings tab. Whatever you do, make sure to save the changes. The pro version of WP Dark Mode offers a lot more options.
Add Dark Mode To Your Admin
To add Dark Mode to your admin area, go to Settings > WP Dark Mode and go to General Settings. Switch to the on position by toggling the “Enable Backend Darkmode” and save the changes.
Now simply click on the switch located at the top bar admin area to enable dark mode. If there are multiple users for your WordPress, each person has the option to switch on and off the dark mode option.
This is how you can add dark mode to your website the easy way.

