Currently Empty: $0.00
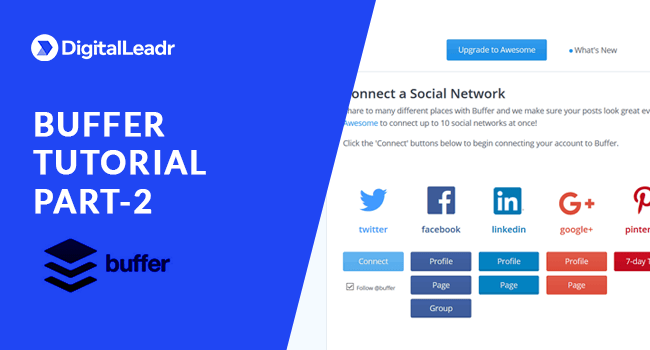
Hello everyone! Now that you have learnt about the packages, how to connect your social accounts to buffer and how to change time zones, in part two of the tutorial you will learn how to schedule your social media posts through buffer.
Watch The Video Tutorial or Keep reading:
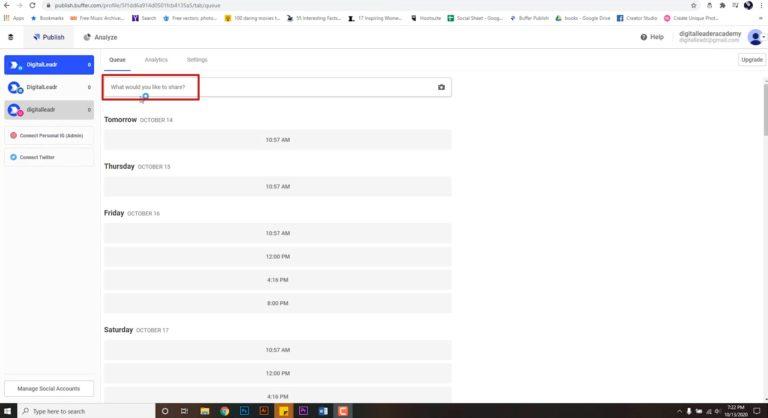
Starting with posting, you can click on ‘what would you like to share’ and then select which accounts you want to post on. You can select all at once or just one account as well. The plus point of these tools is that it saves time as you can schedule for all accounts at once.
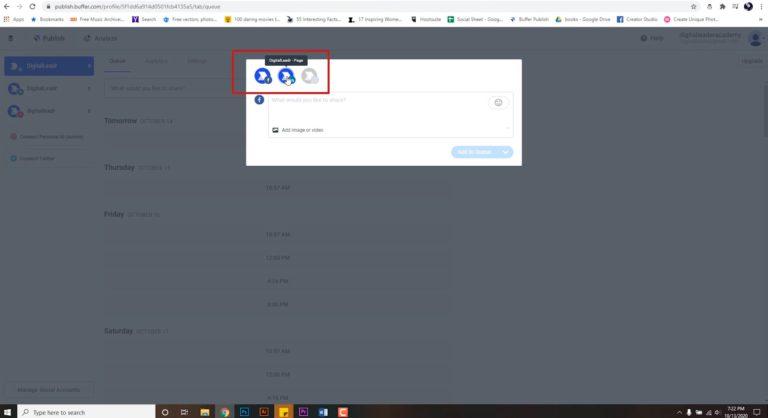
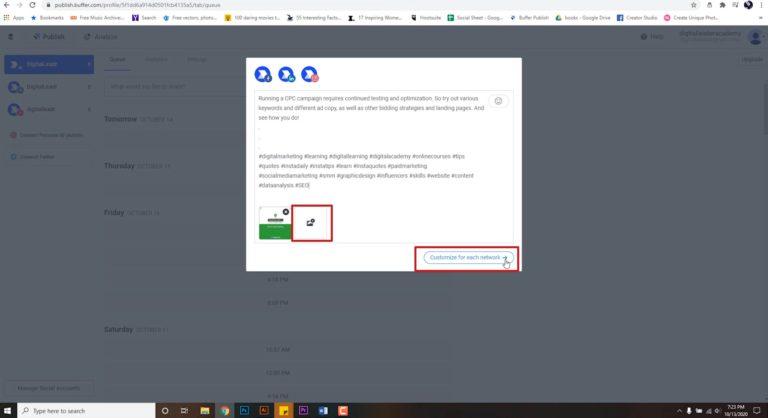
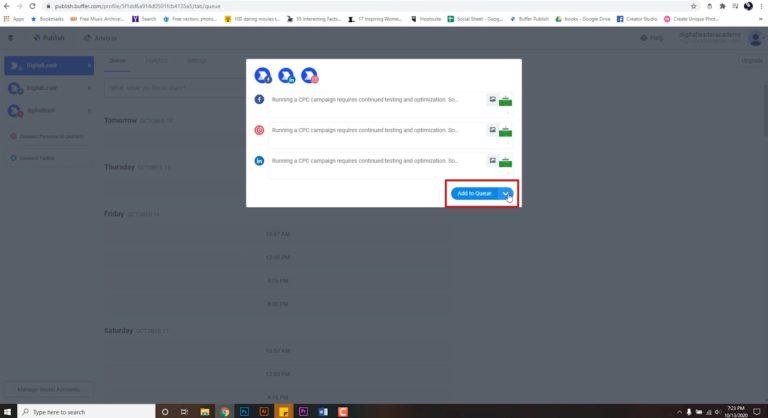
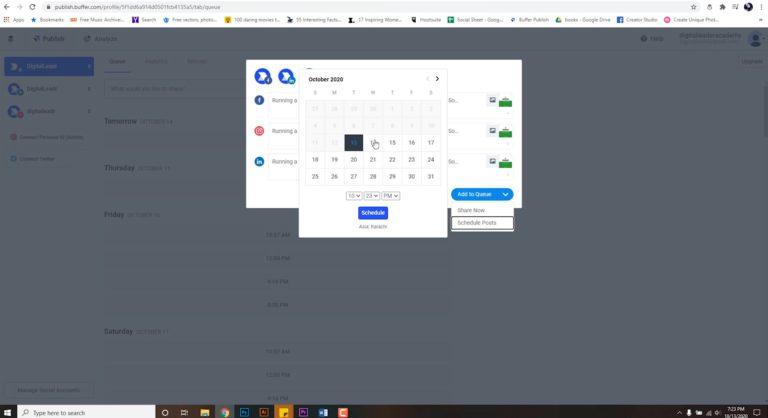
Here I will upload an image I want to add to the post, write the caption and the hashtags. Then I will click on the arrow next to customize for each network, then click on the arrow next to add to queue, then select my date and time and then click on schedule. Here I will select the time I want to publish all these posts and then confirm it.
In case you want to upload on just one social account at just one time, you can select your account from the top left, and then select the day and time. The same procedure will follow from here that you will upload your image, type the caption and add to queue.
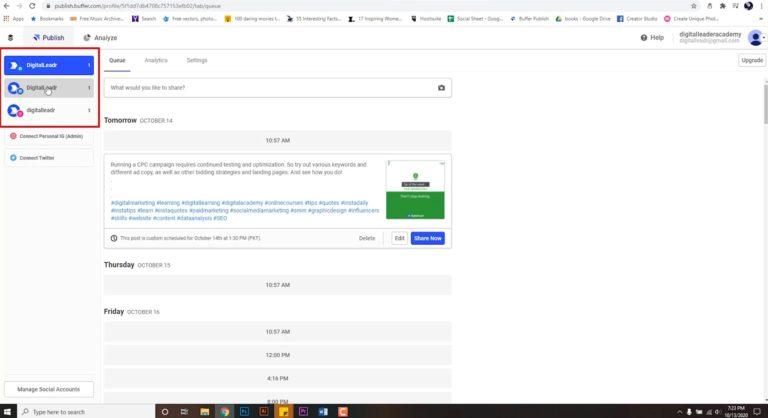
Know your audience well, always select the timings when your target audience is most active on a specific social platform. Stay tuned to part 3 of the tutorial to learn about analytics and more about buffer.

