Currently Empty: $0.00
This tutorial is a guide to using Buffer, a tool to schedule your social media content. It is similar to Hootsuite. If you are familiar with that, you will understand this one easily.
Watch The Video Tutorial or Keep reading:
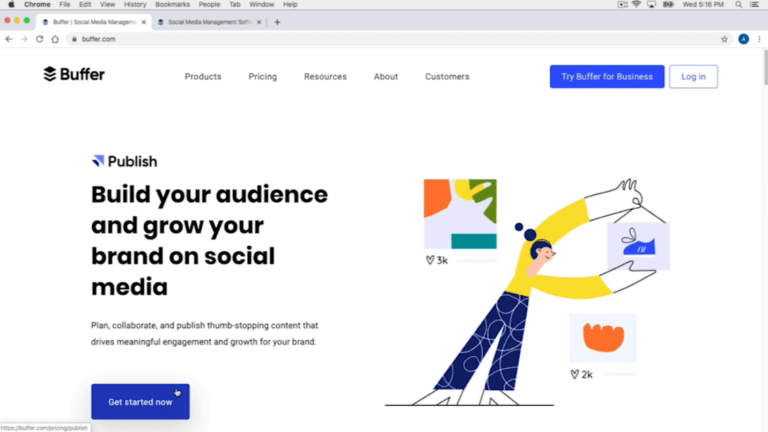
So firstly we will go to buffer.com, look around and get familiar with their Tool features, resources and Pricing.
Before getting started lets discuss the pricing.
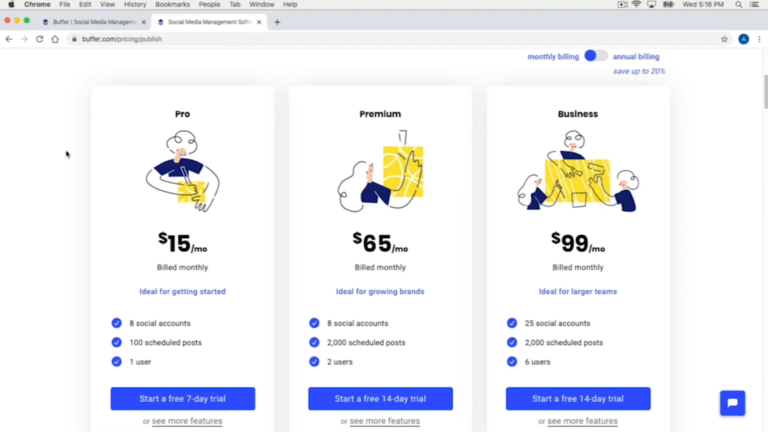
So there are 3 pricing options, the pro, the premium and the business. The pro option allows you to post on 8 social accounts, schedule 100 posts by one user. This costs $15 per month.
The premium option is worth $65 per month and it allows you 8 social accounts, 2000 scheduled posts with 2 users.
The business option is worth $99 per month and offers you 25 social accounts, 2000 scheduled posts by six users.
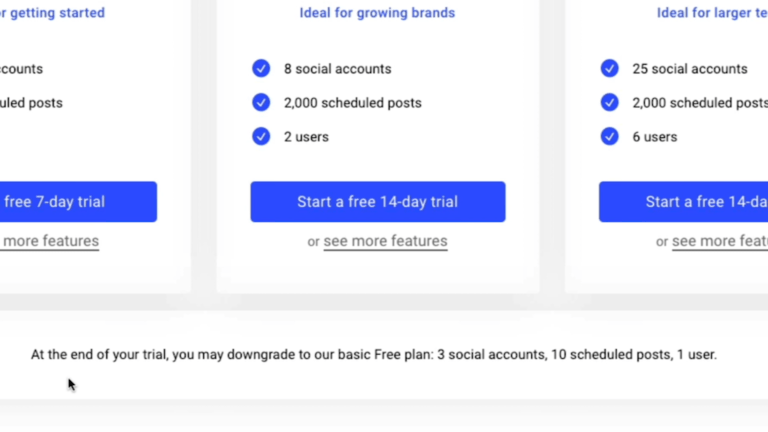
If you are not willing to use buffer for long term the best option is to use the basic free plan. It offers 3 social accounts, 10 scheduled posts by one user which is a pretty good deal.
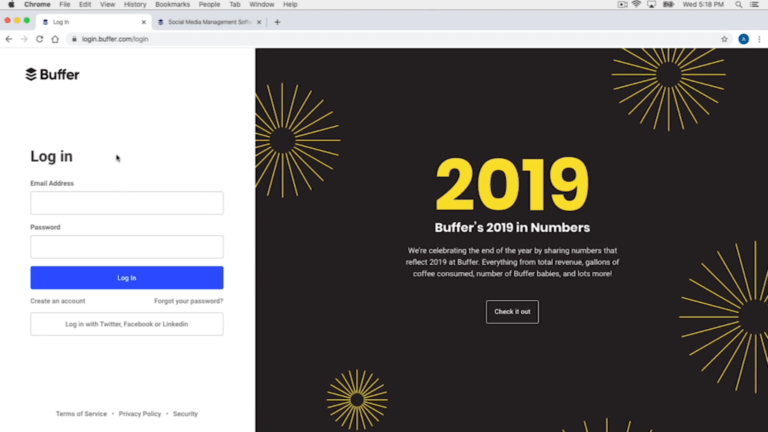
Now log in to buffer. You can create a buffer account with either your twitter, Facebook or LinkedIn account, or if you want you can use your email address.
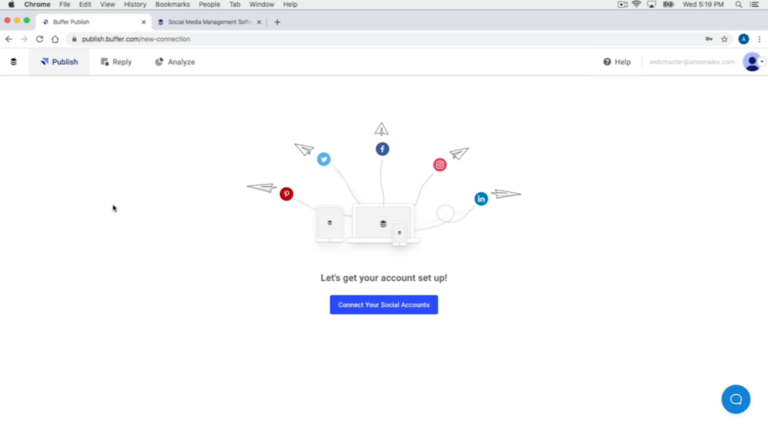
After signing in you have to connect your social accounts because that’s how you will be able to manage all your social accounts from one place. You have to authorize access to buffer so there are no issues with scheduling and posting.
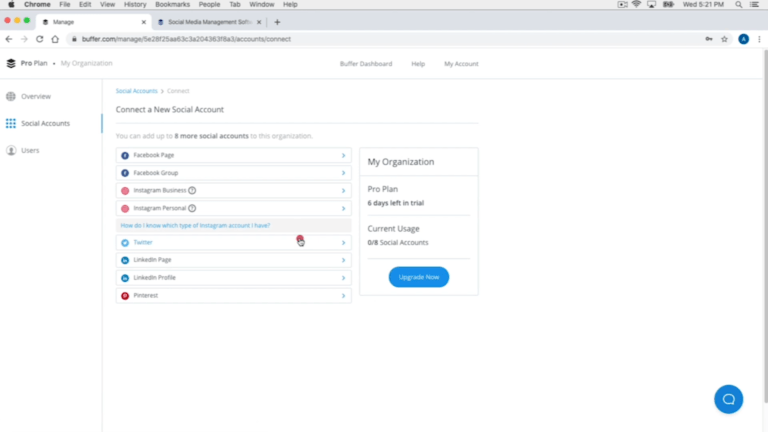
I am using the basic plan so I have connected my Facebook, LinkedIn and Instagram to it. You can see all the connected accounts listed to the left.
There are some tabs visible on the top of the page. In the queue tab we can upload our post. You can see there are some timings mentioned over here. If you go to the settings tab, you can see a posting schedule tab below it and here there is option to change your time zone, and also a list of timings are mentioned here. Since four posts are too much for me in a day so I will delete all the extra ones and just leave one. Then I will also change the time for it according to my audience.
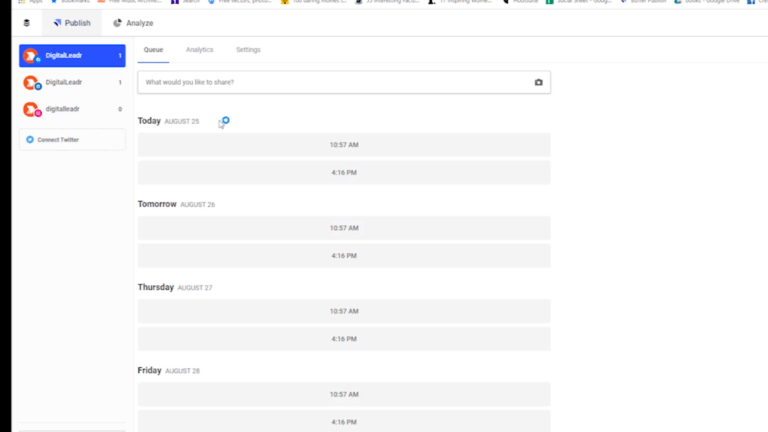
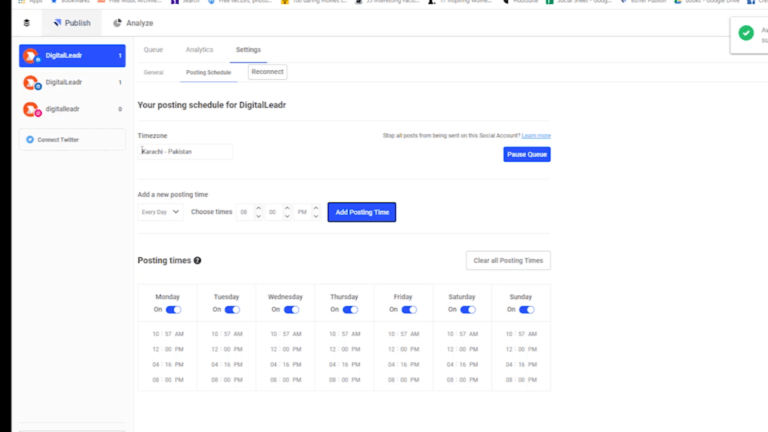
Also see that this is just for my Facebook account as it is the only one that is selected on the left side. We will have to do this individually for all accounts that are connected to buffer.
This is the end of part one of this tutorial. Stay tuned for the second part where we will discuss further on the scheduling of posts on social media accounts.

